34 We have officially started the kitchen remodel. We will be working sloooooowly though, so I don't anticipate it to be finished be fore February 2016!! Yikes!
Oh well, gotta start somewhere. So the first thing we did was install open shelves. And I love them! To me they change the whole feel of the kitchen and open up the space. I feel like I got an upgrade by just changing out the existing cabinet.
Here is the before. For a little while I even took the doors off the cabinets so I could get a feel for the open shelving. So happy we took the plunge and pulled them off!
I wanted to stain the shelves with the same look that I will be using to refinish our kitchen table. So I decided these would be great practice. My husband bought oak, because...I don't know why. It's expensive, BEAUTIFUL, but expensive. So if you want to save some money, buy the cheaper stuff. Oh look....there is a beer in that pic :)
This wood was 12 x 10 x 3/4, we cut it down to the size we wanted which was about 55 inches long. Then sanded them. I stained them with Minwax Wood Finish is Special Walnut. My cabinets now pick up a lot of red hue and I did not want that. (Phase 2 of the remodel is white cabinets). The Special Walnut was brown, just like I wanted!
Ya, see that grain is LOVELY
I ended up only doing one coat of the stain on all 4 sides, because I didn't want them to be dark at all.
I sanded them again, then uses a wire brush to brush the grain. I know I took a picture of that step...but now it's disappeared ! Also, sorry all the pics are at night, but it's the only time I could work! After sanding and brushing I added a wax that would leave a white washed look in the grain. I uses Briwax Liming Wax. I applied it with a Spackle tool? And let it sit for a bit and then wiped it off with an old t-shirt. Then I buffed the whole thing with some super fine steel wool.
Here is the result. Ignore that orange table under there...that's the one we will be refinishing to look as gorgeous as these.
After they were all waxed on sides, I sealed them with General Finishes High Performance Polyurethane Water Based Top Coat. I did like 2 coats, I don't think they will be getting a ton of water on them. For my table I will do more coats.
Then came the fun part, taking down these bad boys...
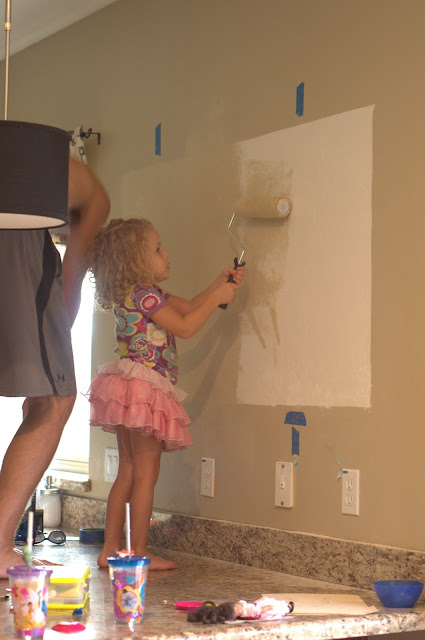
Some little helpers
All gone! Why does my paint look green?? Anyway...so open!
and time to paint.
Here was all the stuff waiting for its new home.
We used these brackets from Home Depot. They are oil rubbed bronze, hold about 600lbs, and they were 7 bucks. After running to the hardware store again....to get the correct screws my hubby screwed them into the wall studs. (and I didn't show this, but we marked where all the studs were and used some of the old holes from the previous cabinet to make sure we secured the brackets into the studs. Then he used a laser level to evenly hang all the brackers.)
The shelves are about 14inches apart, and start and end exactly where the previous cabinet was. Except...
Sooooo much prettier!! Super pumped that the kitchen remodel has begun! Next up will be refinishing the table and then probably in November (yup...I know its 2 months away) we will start building the boxes for the new cabinets...so STAY TUNED! Oh and if you want to see where that old cabinet went check out the laundry room in the Home Tour tab :)